

What do you need before you start?
InfraIO Wallet apps for iOS and Android and a Chrome extension are coming soon. Nothing is available to download today, so treat this as a preview of the steps rather than something to follow right now. See the InfraIO Wallet page for the latest.
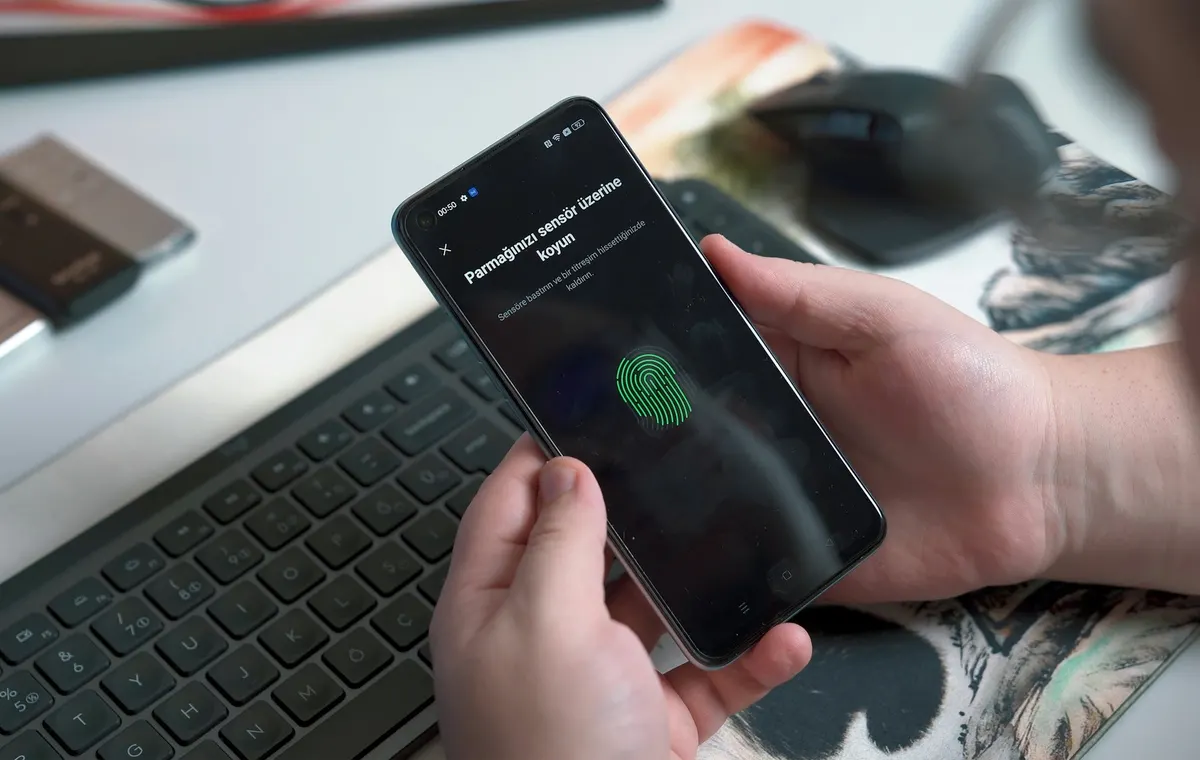
When it is available you will need a phone or computer that can create a passkey, which means Face ID, a fingerprint, face unlock or a device passcode. A passkey manager such as iCloud Keychain or Google Password Manager is useful because it can sync your passkey between your devices. For the idea behind it, see how the wallet works. (Apple)
How do you create your wallet?
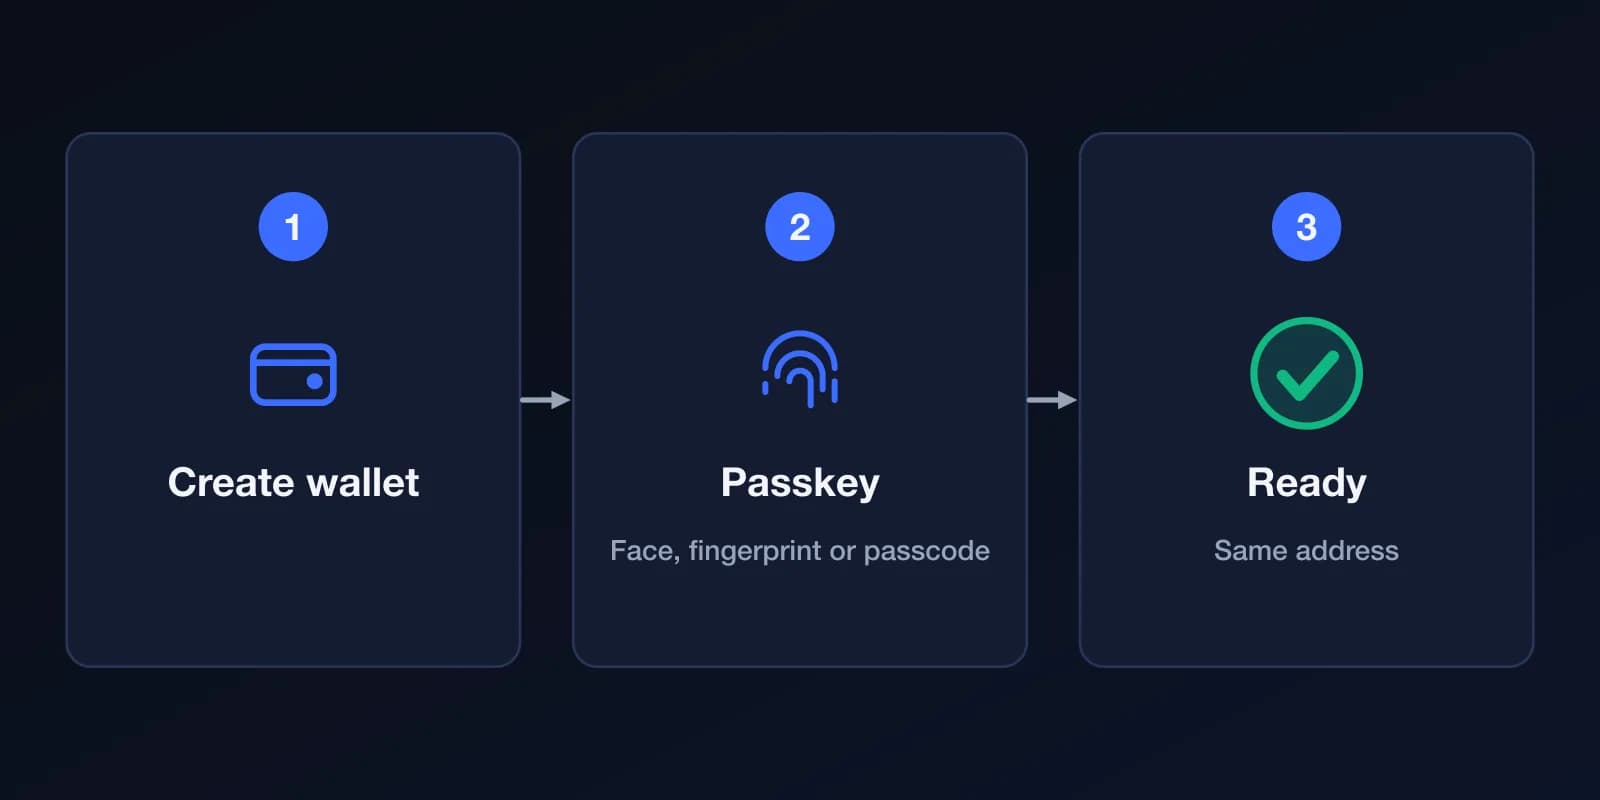
Open the app and choose to create a wallet. You will be asked to create a passkey and approve it with Face ID, a fingerprint or your passcode. That is the whole setup: there are no 12 or 24 words to write down to get started. (FIDO Alliance)
Your wallet has one address, the same on every supported EVM network. Your keys stay on your devices and your funds live on the blockchain, so InfraIO cannot move them. The trade-off is that nobody at InfraIO can recover the wallet for you either, which makes the next step important.
How do you back up your wallet?
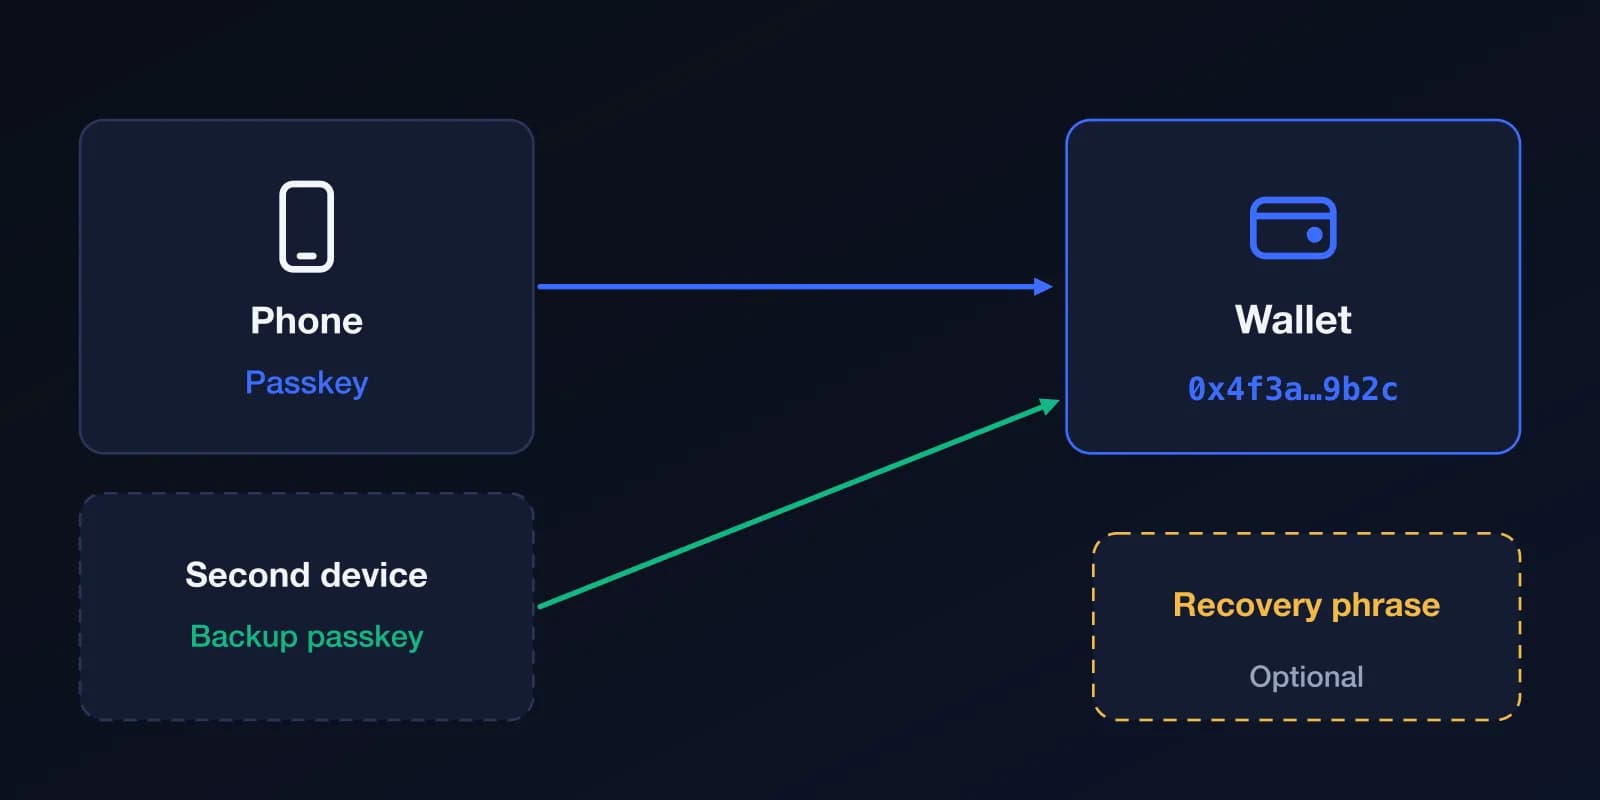
Add a second passkey straight away, on another device or in a different passkey manager. If you lose your phone, a backup passkey gets you back in without any fuss.
You can also save a recovery phrase. It is optional for a passkey wallet: the app suggests it, and you can skip it. If you save one, write it down on paper, keep it offline and never type it into a website. A recovery phrase is required only for wallets that live on a single device, and before you delete your last passkey.
How do you receive crypto?
Open Receive, pick the network you want to use, then copy your address or show the QR code to the sender. The address is the same on every network, but the sender must send on the network you picked.
Send only on networks the wallet supports, because funds sent on an unsupported network can be lost. For your first deposit, send a small amount and check that it arrives before sending more.
How do you send crypto?
Open Send, choose the token and network, and enter the recipient's address or pick someone from your contacts. Check the address character by character, since a blockchain transfer cannot be undone, then enter the amount.
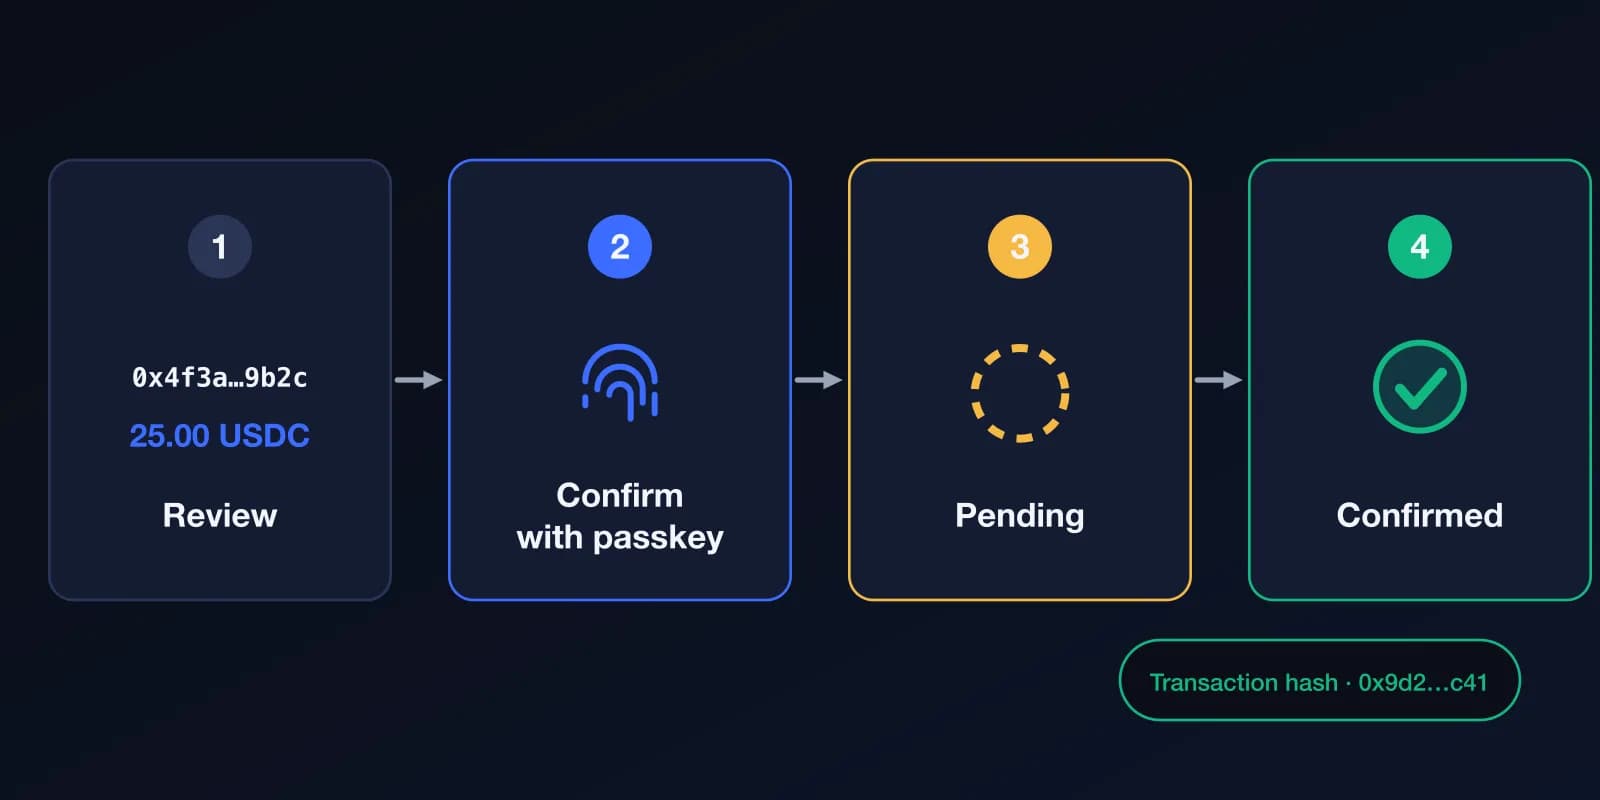
Review the summary, including the network fee, and confirm with your passkey. Then wait. The wallet shows success only after the network has confirmed the transaction, and until then it shows the transaction as pending. When it is confirmed you can see the transaction hash and open it in a block explorer to check it yourself. A transaction hash is the unique ID of your transfer.
How do you swap tokens?
Open Swap, choose the token you have and the token you want, and enter an amount. Look at what you will receive and the fees before you confirm. A swap is a transaction like any other, so it also needs your passkey and is shown as done only once confirmed.
If a quote looks far from what you expected, stop and check the amount and the tokens again.
How do you connect to an app with WalletConnect?
Many apps and websites let you connect a wallet with WalletConnect. On the app's site choose WalletConnect, then scan the QR code or paste the connection code in InfraIO Wallet and approve the connection.
Connecting only lets the app see your address and send you requests. Each action still needs your approval, so read every request. Only connect to sites you trust, never approve something you do not understand, and disconnect when you are done.
What comes next?
Soon you will be able to add co-signers to your wallet: another passkey for a second device or person, or an external wallet such as MetaMask. Every InfraIO Wallet starts as a multisig with one signer, so nothing changes until you add someone. This is coming soon and not available yet. Read what a multisig wallet is.
Keep reading: What is a crypto wallet?, How crypto wallets get hacked, Why InfraIO Wallet, InfraIO Wallet